Using microcontrollers to create USB devices can be a really great tool. They are plug and play plus can be configured in infinite ways compared to buying a mass produced keyboard.
In the past I have used the Arduino Uno/Leonardo microcontrollers to do this. However, it was a bit difficult to upload and they were bulky in comparison to the keys themselves and the chip that did the work.
Enter the Raspberry Pi Pico.
According to the spec sheet this Pico is about 100x faster, clocking in at $4-5, plus a smaller form factor and more IO - a clear winner. RIP UNO.
But before building an entire keyboard, or more likely an interactive component for a Sensebellum art installation, I needed to create a “Hello World” with the Pico. In this case I made a simple arrow USB Keyboard. You know, UP, LEFT, RIGHT, DOWN. For some reason I can’t find these anywhere online!
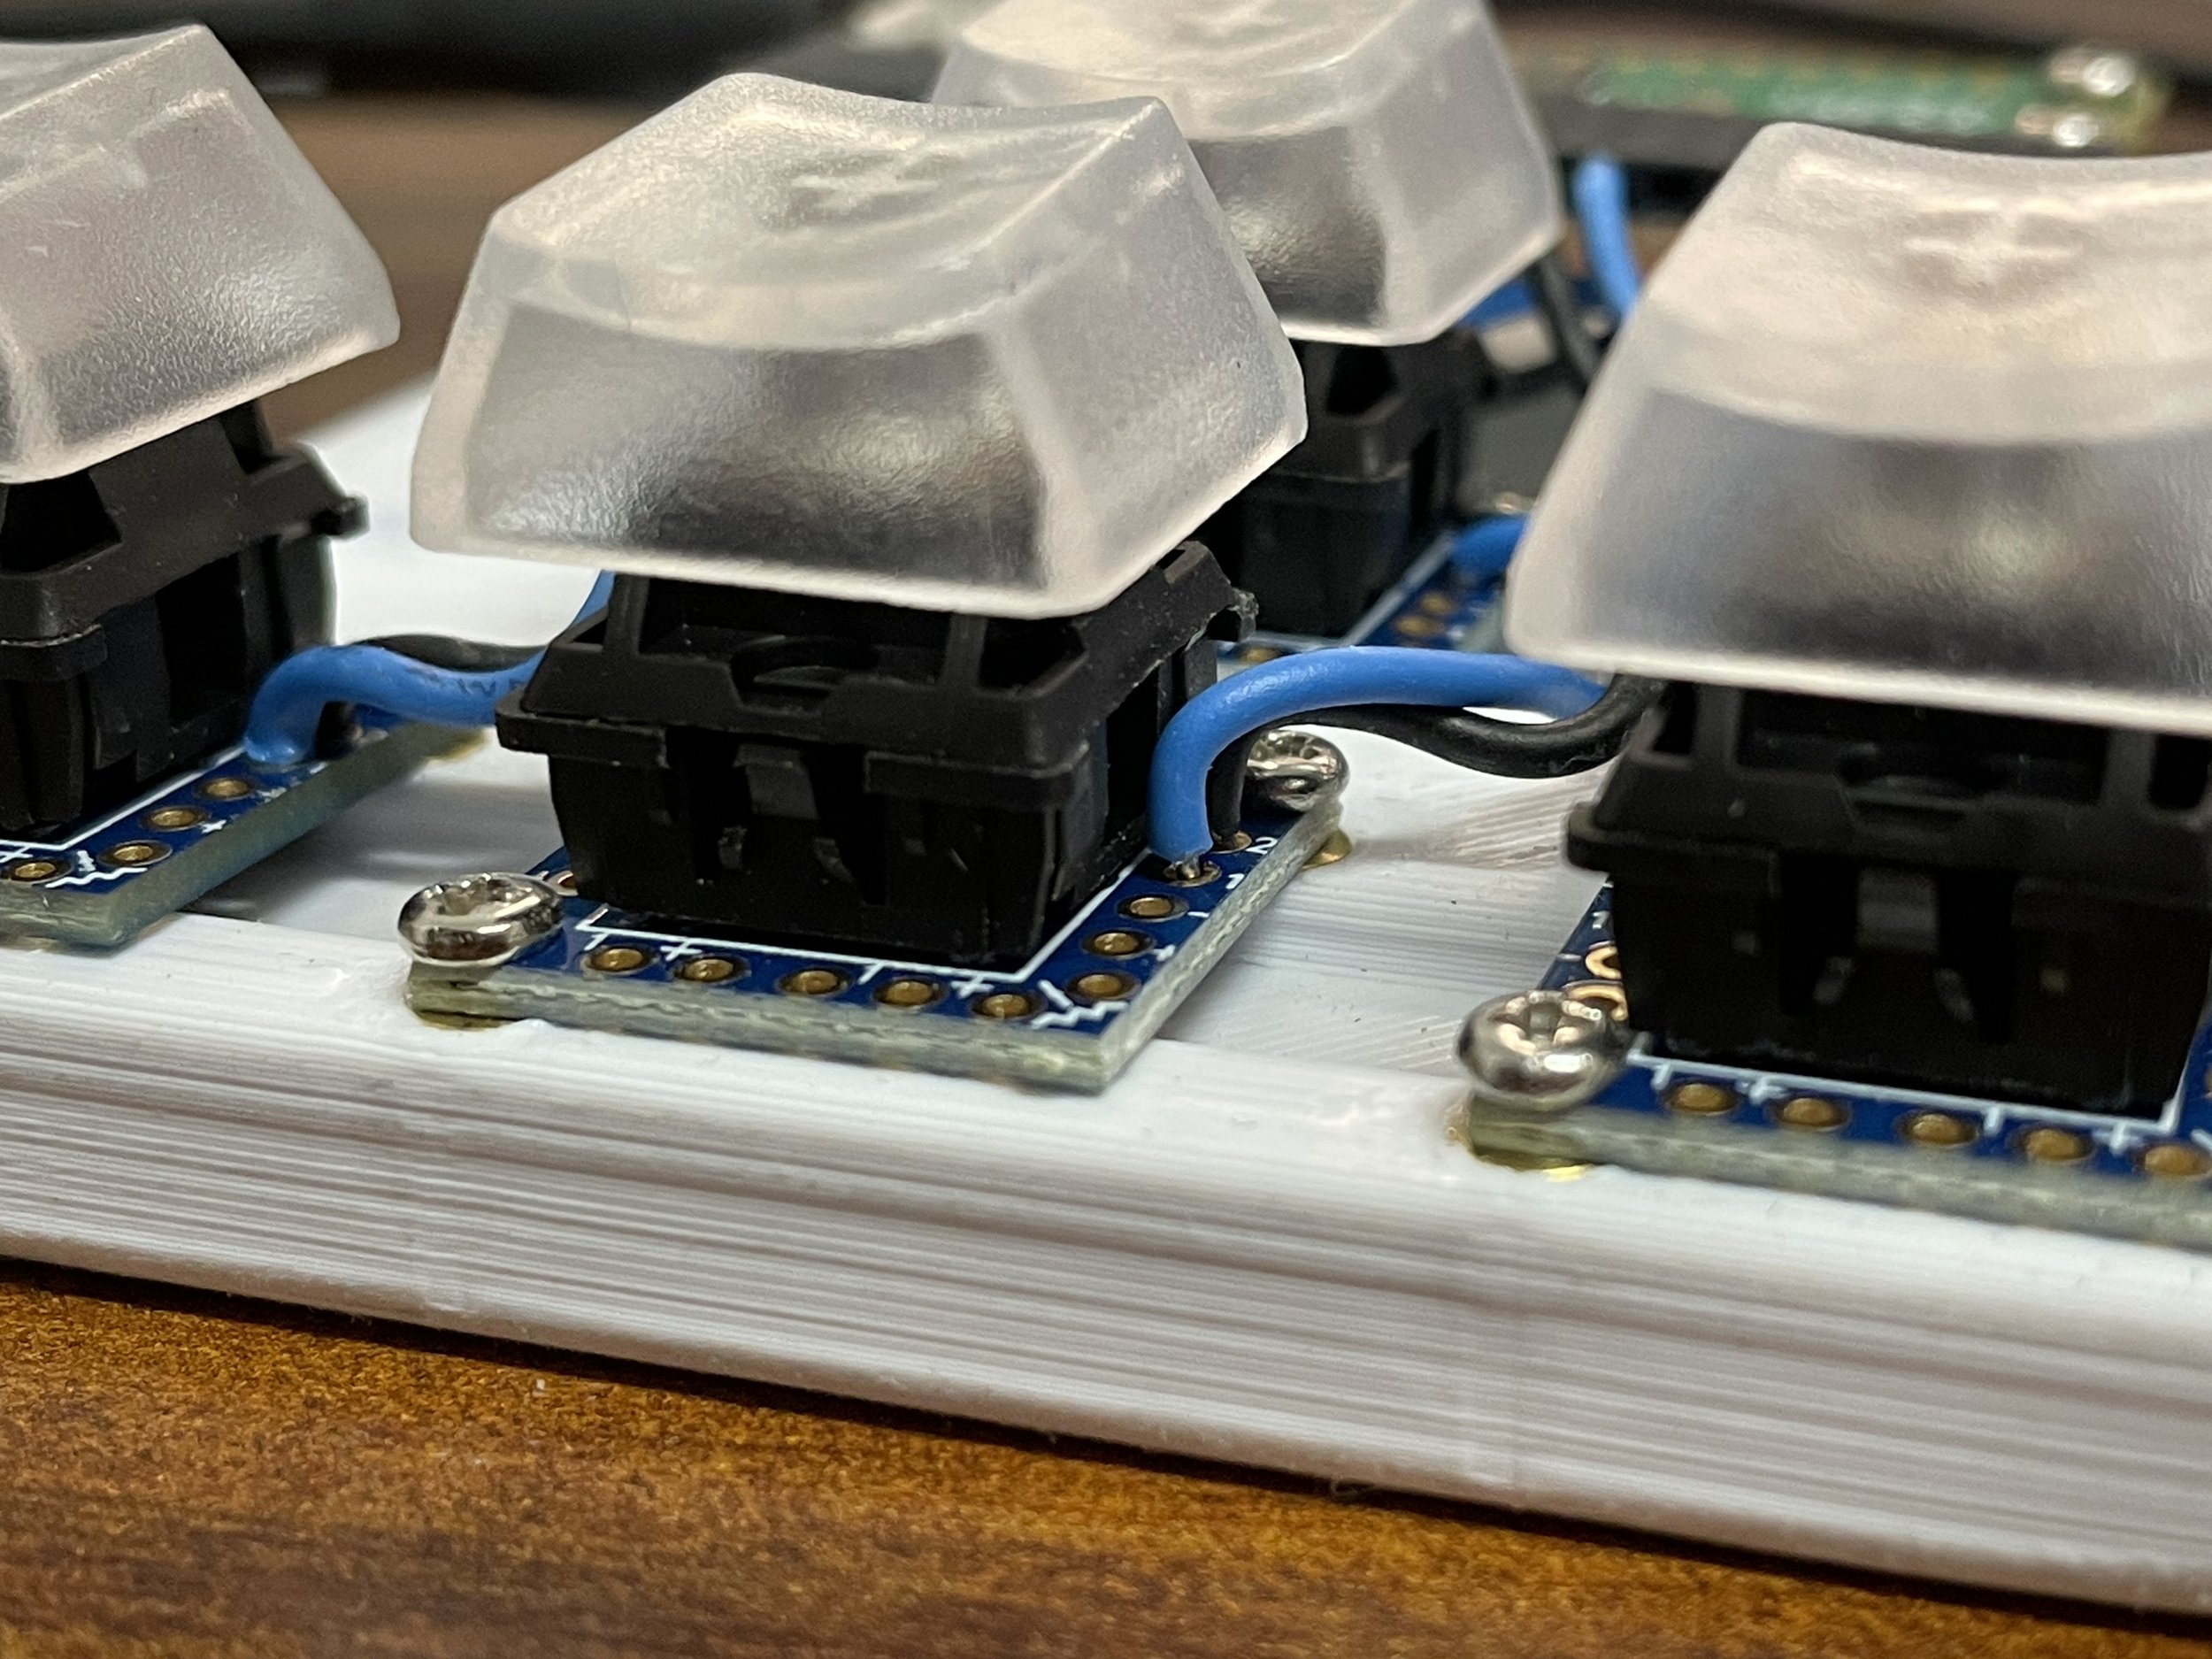
For the parts I found some keyboard buttons online and then 3D printed up a quick platform to connect everything. This way it is easy to see what is going on, easy to share, and I can save it for later reference.
See below for the photos, a video overview, and all the files.
Special thanks to Adafruit for CircuitPython and HID library as well as this video by Novaspirit Tech.